This past winter, Jon and I did a lot of planning for the season. Running a farm requires many decisions to be made, big and small. One big decision we were faced with was how keep our produce fresh and crisp while delivering throughout the state. Rather than buying a refrigerated truck, we decided to build our own refrigerated trailers to haul behind our pick-ups. Our goal was to create flexible delivery vehicles with a low cost. With a full summer behind us, we are proud to share that our trailers have been a big success.
We equipped two standard cargo trailers with everything necessary to keep produce at 38 degrees, even in the heat of summer. We use our trailers in our field to quickly cool our greens directly after harvest. Cooling greens after harvest is one of the most important factors in contributing to a longer shelf life.
Here is how we created our refrigerated trailer:
We purchased two standard cargo trailers, one slightly larger than the other. The pictures below show us working on the smaller trailer.
[fusion_builder_container hundred_percent=”yes” overflow=”visible”][fusion_builder_row][fusion_builder_column type=”1_1″ background_position=”left top” background_color=”” border_size=”” border_color=”” border_style=”solid” spacing=”yes” background_image=”” background_repeat=”no-repeat” padding=”” margin_top=”0px” margin_bottom=”0px” class=”” id=”” animation_type=”” animation_speed=”0.3″ animation_direction=”left” hide_on_mobile=”no” center_content=”no” min_height=”none”]

Trailers before we performed surgery
The first step was to remove the inner paneling and to strip the walls down to the steel studs.
[/fusion_builder_column][fusion_builder_column type=”1_1″ background_position=”left top” background_color=”” border_size=”” border_color=”” border_style=”solid” spacing=”yes” background_image=”” background_repeat=”no-repeat” padding=”” margin_top=”0px” margin_bottom=”0px” class=”” id=”” animation_type=”” animation_speed=”0.3″ animation_direction=”left” hide_on_mobile=”no” center_content=”no” min_height=”none”]

Taking out the wooden panels that came with the cargo trailer
Next, we used a metal cutting saw to carefully cut a hole in the front of the trailer through which a standard household AC unit would be inserted.
[/fusion_builder_column][fusion_builder_column type=”1_1″ background_position=”left top” background_color=”” border_size=”” border_color=”” border_style=”solid” spacing=”yes” background_image=”” background_repeat=”no-repeat” padding=”” margin_top=”0px” margin_bottom=”0px” class=”” id=”” animation_type=”” animation_speed=”0.3″ animation_direction=”left” hide_on_mobile=”no” center_content=”no” min_height=”none”]

Cutting the hole for the AC unit
[/fusion_builder_column][fusion_builder_column type=”1_1″ background_position=”left top” background_color=”” border_size=”” border_color=”” border_style=”solid” spacing=”yes” background_image=”” background_repeat=”no-repeat” padding=”” margin_top=”0px” margin_bottom=”0px” class=”” id=”” animation_type=”” animation_speed=”0.3″ animation_direction=”left” hide_on_mobile=”no” center_content=”no” min_height=”none”]

Looking at Jon through the trailer
We framed up under the hole with 2x4s and metal drilling screws. Next we inserted the AC unit, placed another 2×4 over the top edge of the AC, tightened everything and secured the unit firmly in place.
[/fusion_builder_column][fusion_builder_column type=”1_1″ background_position=”left top” background_color=”” border_size=”” border_color=”” border_style=”solid” spacing=”yes” background_image=”” background_repeat=”no-repeat” padding=”” margin_top=”0px” margin_bottom=”0px” class=”” id=”” animation_type=”” animation_speed=”0.3″ animation_direction=”left” hide_on_mobile=”no” center_content=”no” min_height=”none”]

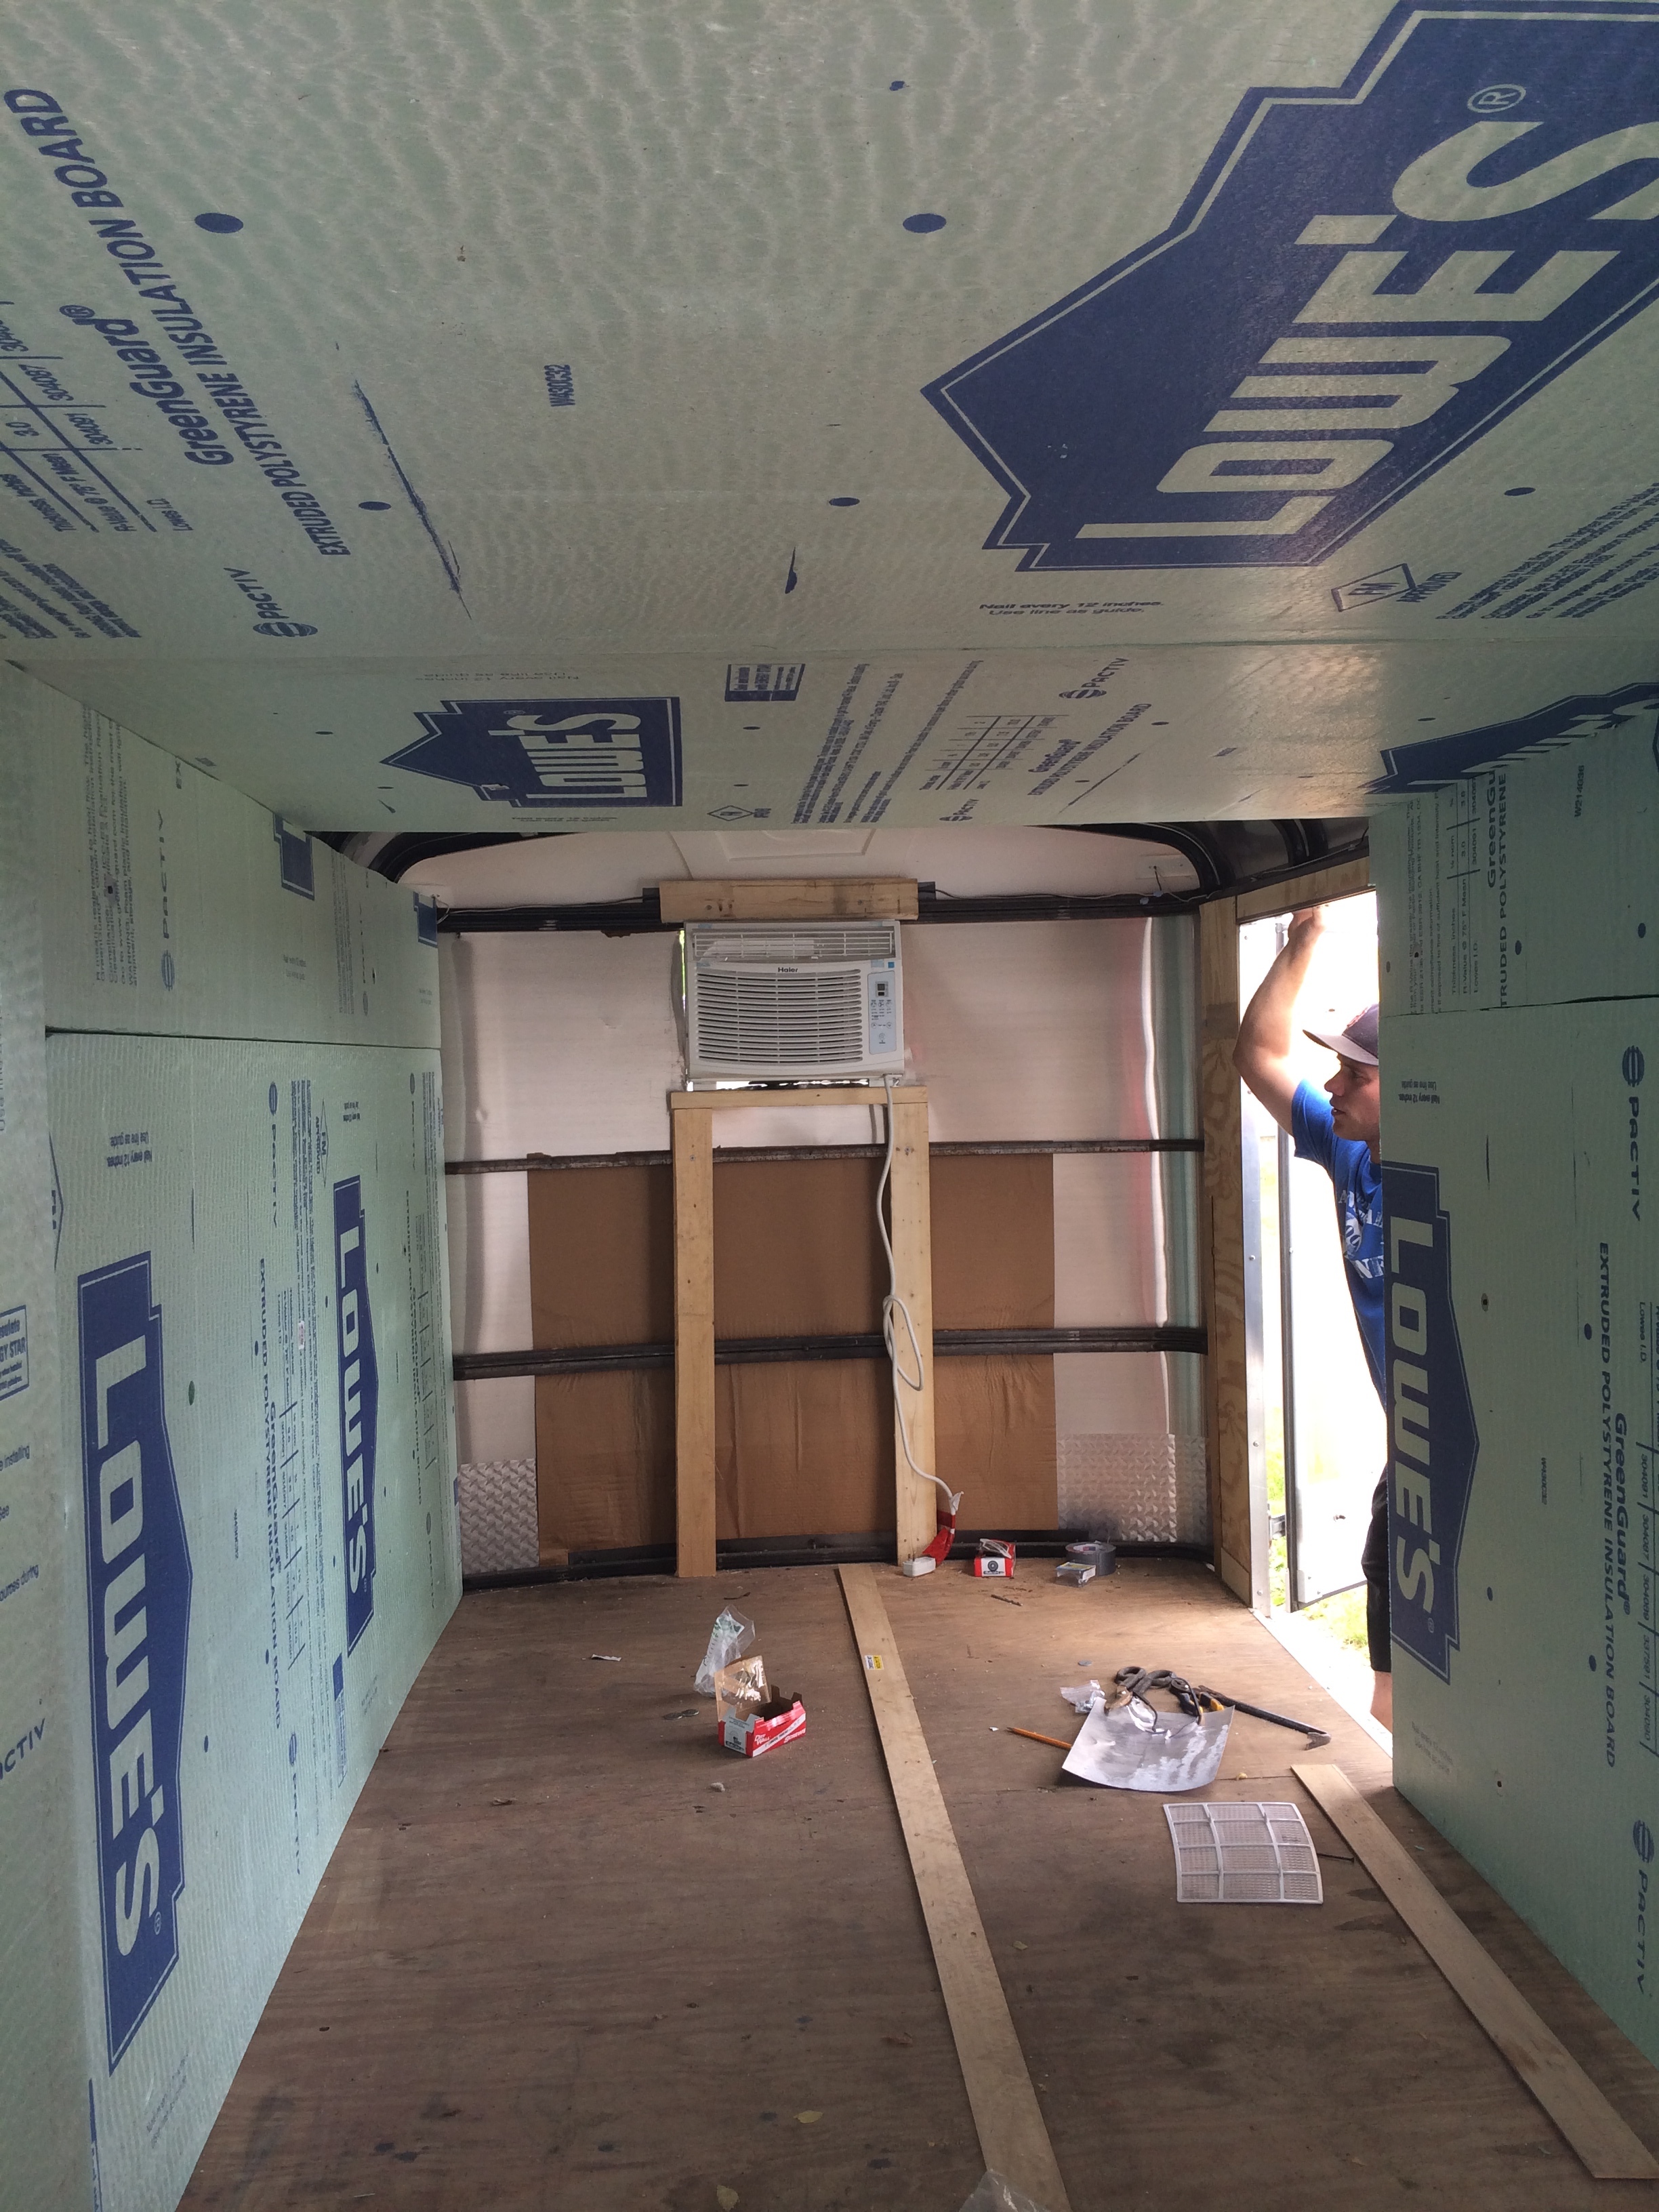
AC unit mounted in trailer
Next, we measured the inside in order to cut 2″ insulation panels to line the floor, walls and ceiling. We used strapping to secure the insulation.
[/fusion_builder_column][fusion_builder_column type=”1_1″ background_position=”left top” background_color=”” border_size=”” border_color=”” border_style=”solid” spacing=”yes” background_image=”” background_repeat=”no-repeat” padding=”” margin_top=”0px” margin_bottom=”0px” class=”” id=”” animation_type=”” animation_speed=”0.3″ animation_direction=”left” hide_on_mobile=”no” center_content=”no” min_height=”none”]

Cutting insulation to line the trailer
[/fusion_builder_column][fusion_builder_column type=”1_1″ background_position=”left top” background_color=”” border_size=”” border_color=”” border_style=”solid” spacing=”yes” background_image=”” background_repeat=”no-repeat” padding=”” margin_top=”0px” margin_bottom=”0px” class=”” id=”” animation_type=”” animation_speed=”0.3″ animation_direction=”left” hide_on_mobile=”no” center_content=”no” min_height=”none”]
Hanging the insulation
The doors are a bit tricky, but with perserverence we were able to make them fit perfectly.
[/fusion_builder_column][fusion_builder_column type=”1_1″ background_position=”left top” background_color=”” border_size=”” border_color=”” border_style=”solid” spacing=”yes” background_image=”” background_repeat=”no-repeat” padding=”” margin_top=”0px” margin_bottom=”0px” class=”” id=”” animation_type=”” animation_speed=”0.3″ animation_direction=”left” hide_on_mobile=”no” center_content=”no” min_height=”none”]
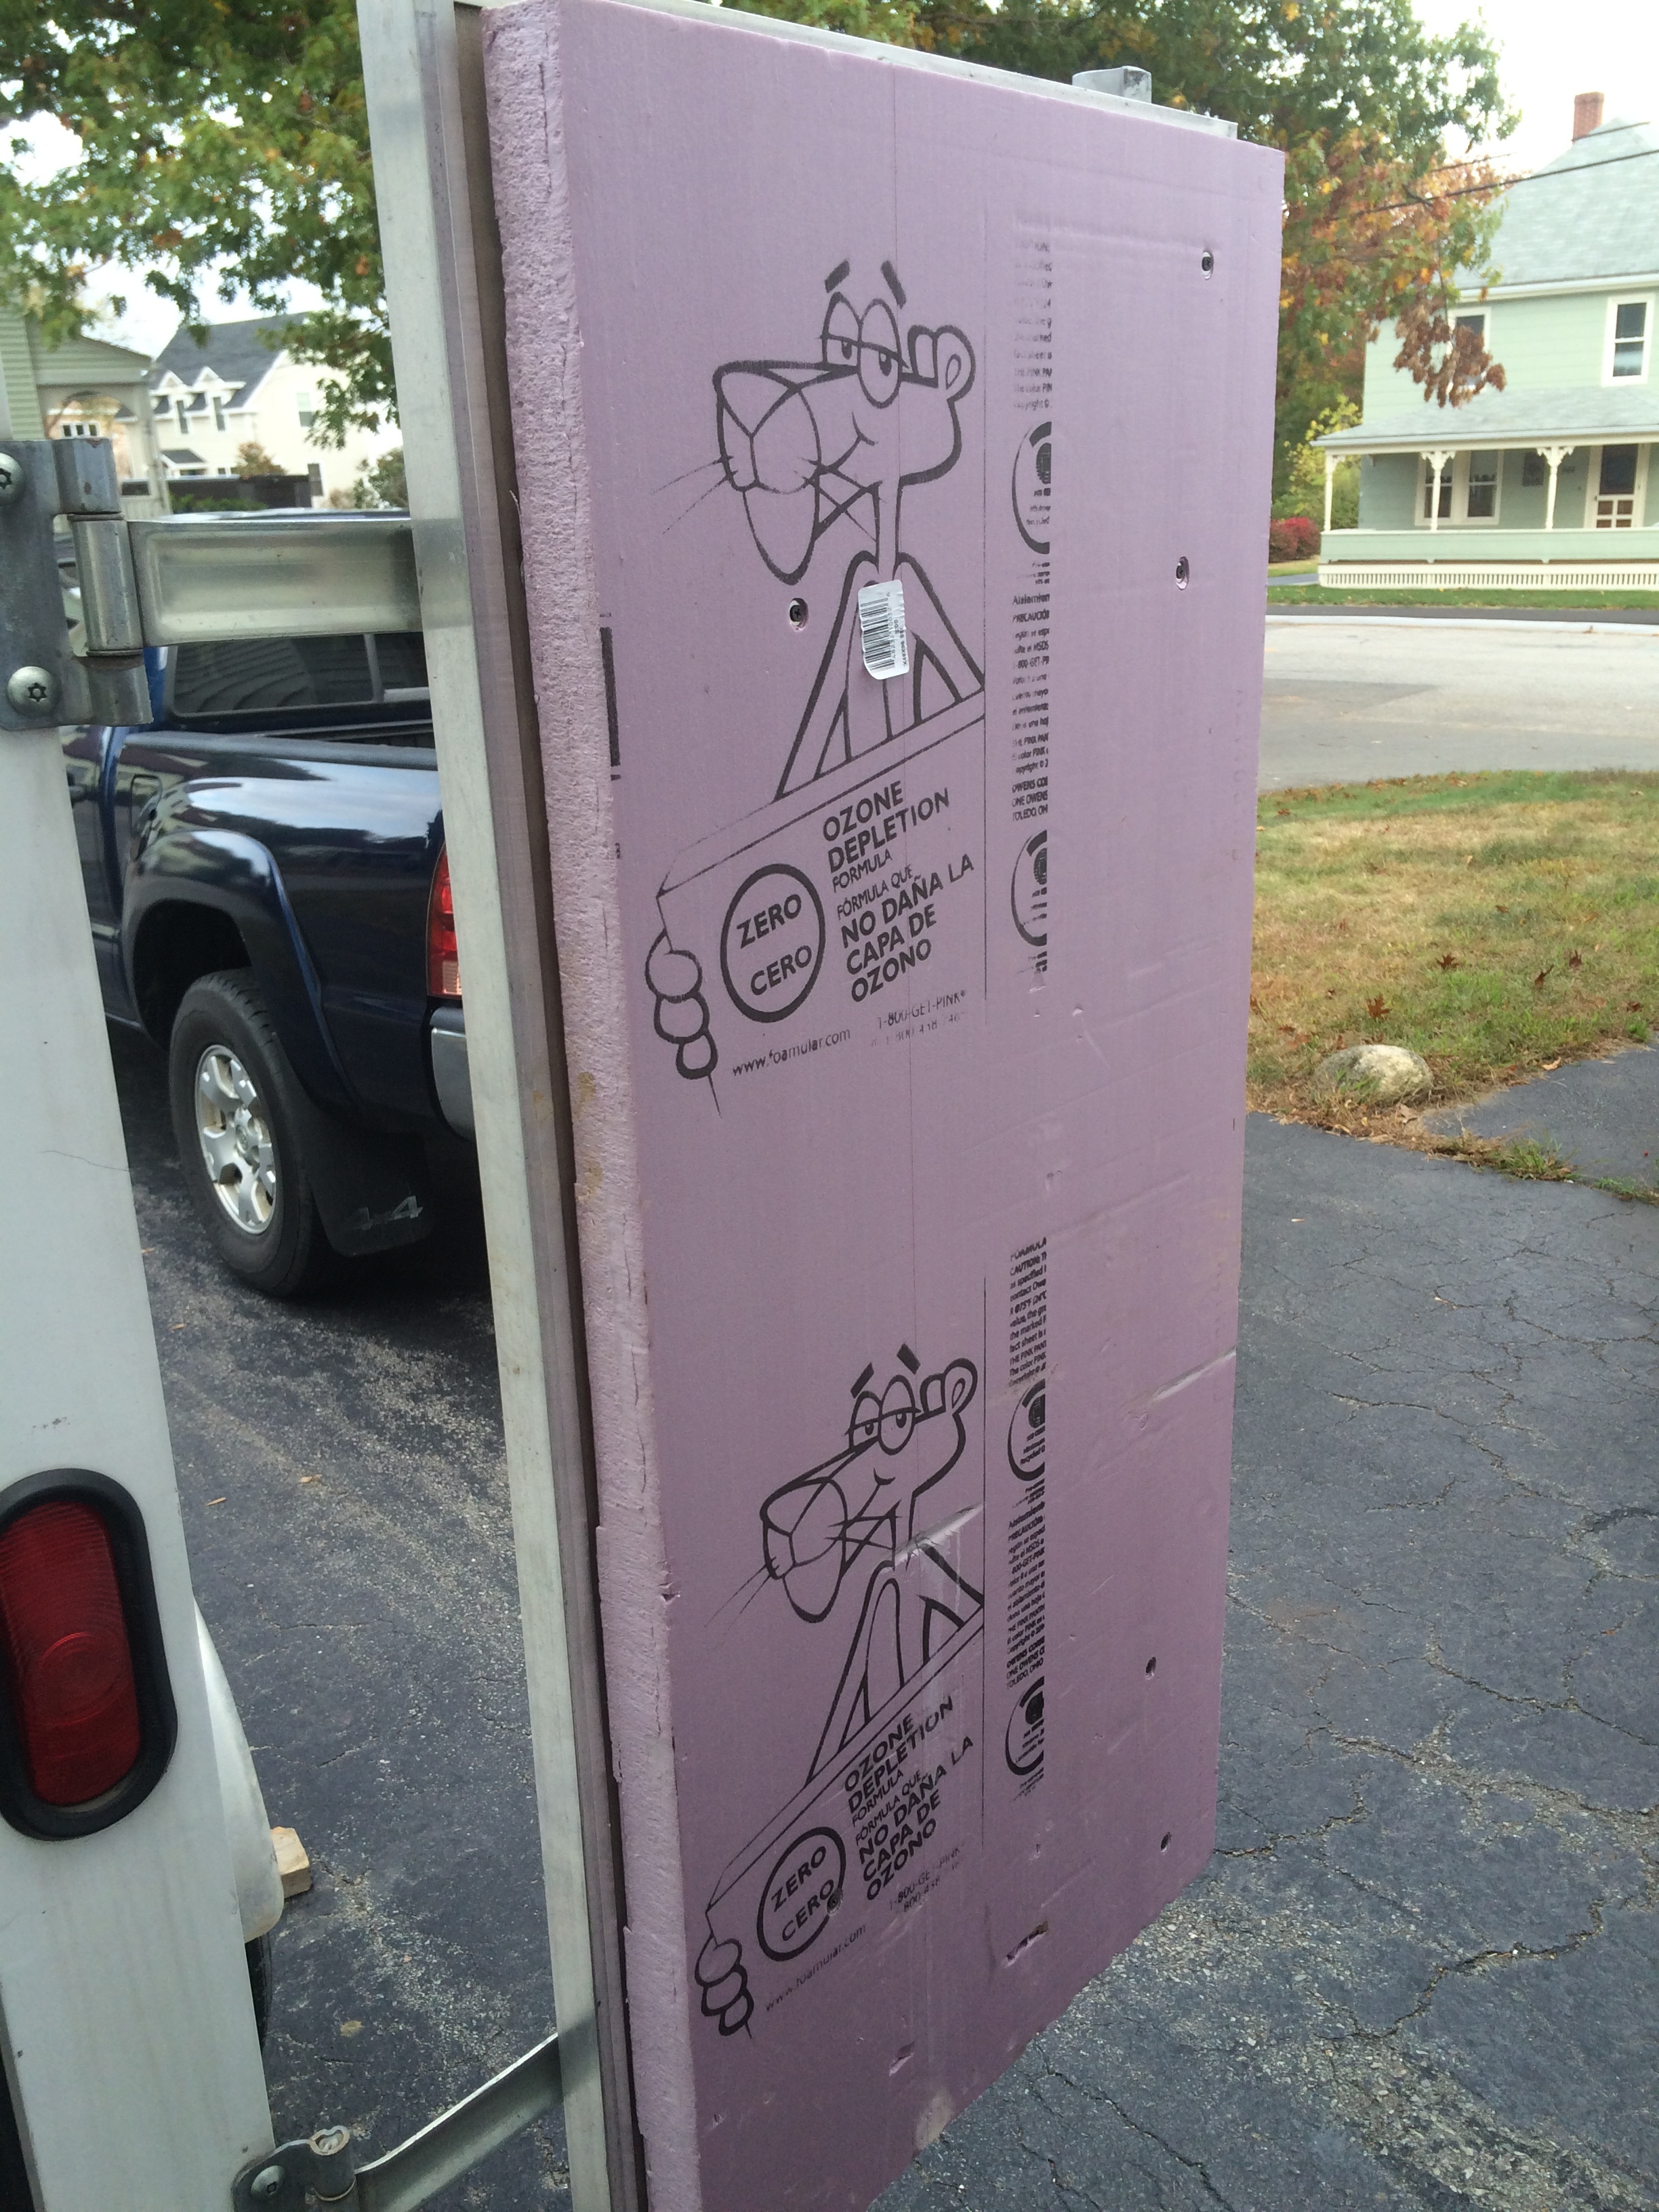
The Pink Panther approves
Lastly, we installed a sensor that, in effect, tricks the AC unit into thinking it is much warmer than it is. As a result, the AC unit continues to push the temperature downward to a preset temperature. Pretty cool right?
[/fusion_builder_column][fusion_builder_column type=”1_1″ background_position=”left top” background_color=”” border_size=”” border_color=”” border_style=”solid” spacing=”yes” background_image=”” background_repeat=”no-repeat” padding=”” margin_top=”0px” margin_bottom=”0px” class=”” id=”” animation_type=”” animation_speed=”0.3″ animation_direction=”left” hide_on_mobile=”no” center_content=”no” min_height=”none”]

Installing the sensor that that tricks the AC unit. You can also see the spray insulation we used to fill the cracks.
[/fusion_builder_column][/fusion_builder_row][/fusion_builder_container]
This looks like a great DIY option for making a refrigerated trailed and I like that you’ve included all the steps for making one yourself. The pictures included with each step make the construction process much easier to understand. I’m not sure if I would be able to complete the construction for this type if trailer myself but I think I may give it a shot since it could save quite a bit of money. Thanks for the useful post.
It would be better that if you rotate all these images 90 degree. Taking out the wooden panels that came with the cargo trailer. Thanks for sharing this great article.
I want to have a trailer I can use for anything. It’s crazy to see all of the stuff you can do with trailers! I’ll have to get a nice utility one. That way I can change it with whatever I need!